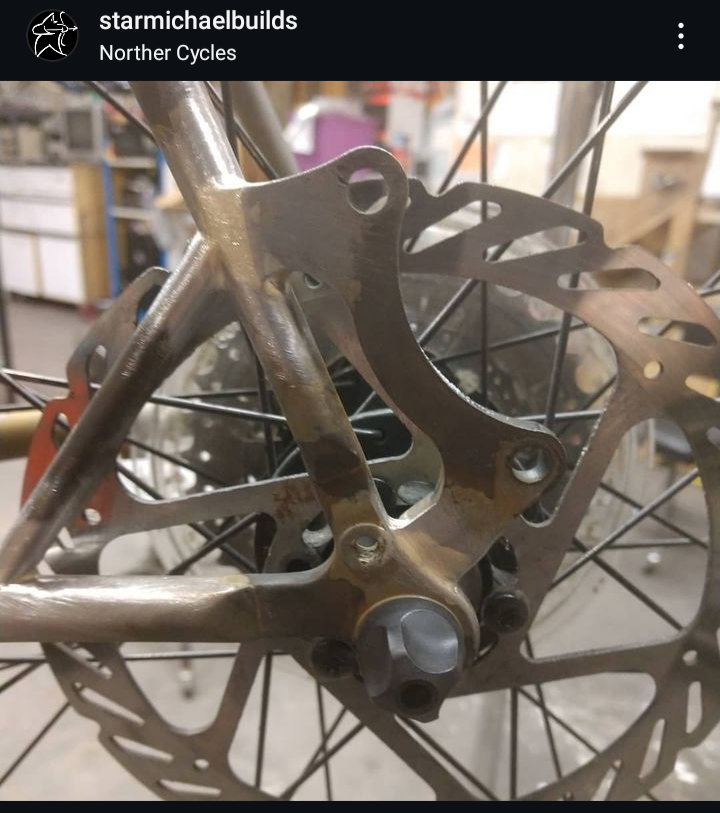
Disk Brake Tabs
Here’s 14 pics of an old GT frame the customer wanted to update. he wanted to switch to hydraulic disk brakes. So I had a nice disk brake front fork that would work and I added a rear disk brake tab, hydraulic cable guide and stiffener bridge.
First I bolted on the jig and held up a disk mount and marked it with a sharpie. Then cut it down to size and refit it. Next carefully file it town until it fits perfectly to the frame and jig. Then braze it on.
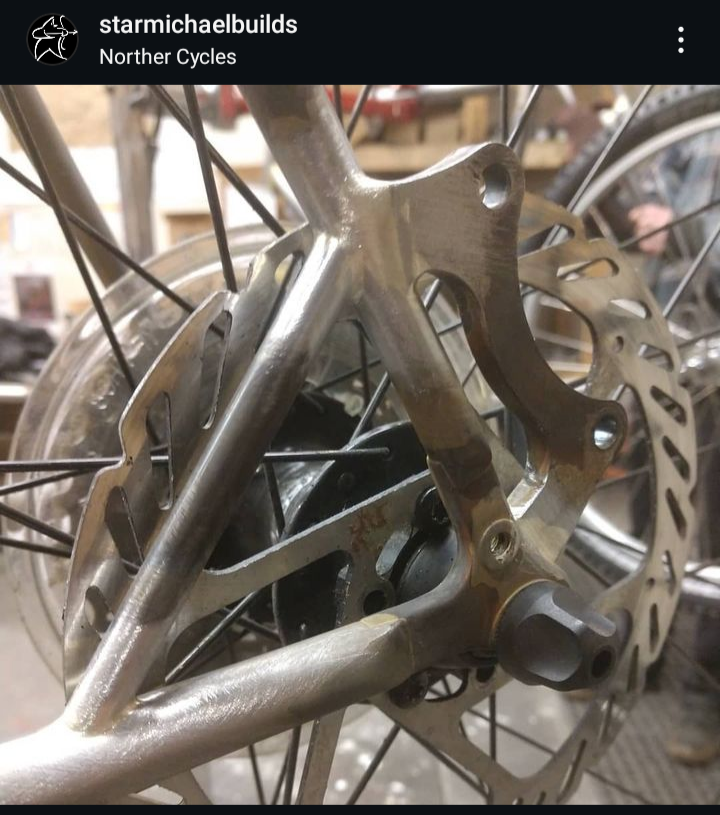
Next I take a bit of extra tubing and hold it up and mark it. Then cut it to size and file in the miters to the tubes.
Then brazed it in too. After it cools I run hot water over it all to get rid of the flux. Then a little work to smooth out the brass and get it ready for paint.


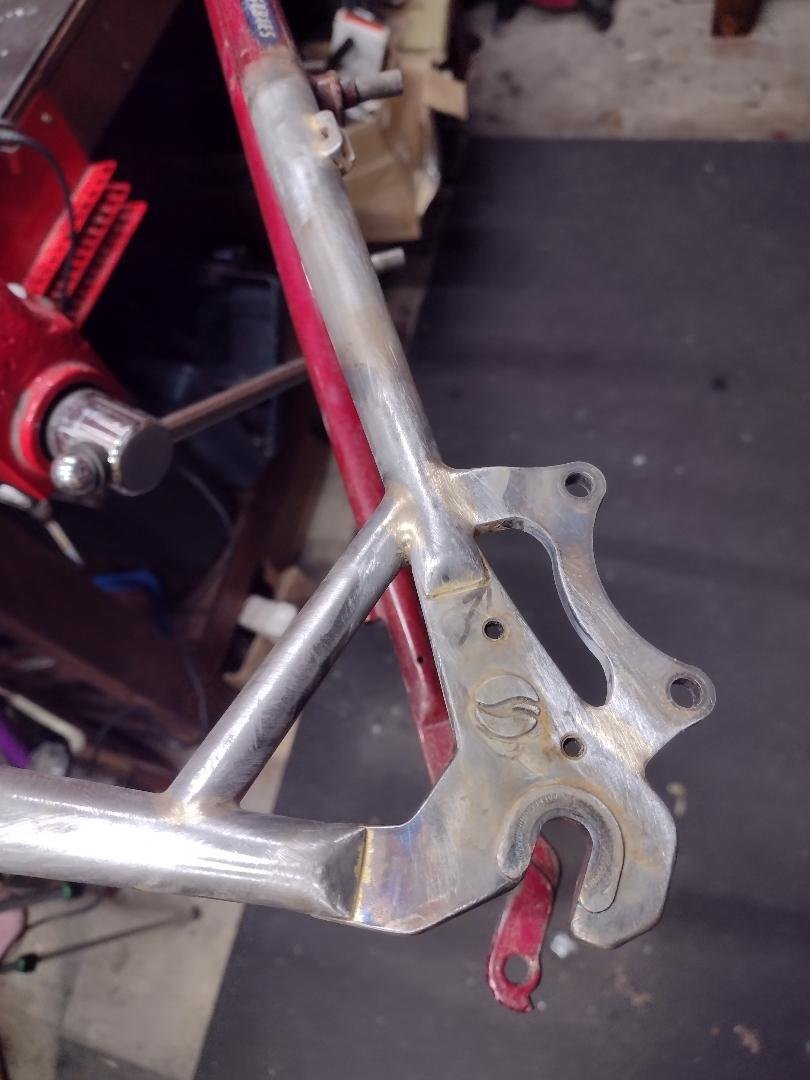


Something lots of people want, and is hard, and I don’t really like to do, but want to get better at is adding disk brake tabs to a frame. People also want them added to forks, but that’s really not a good idea. Forks designed for disk brakes are way bigger and way thicker to deal with all the extra torque that disk brakes make and put on the blade. I’ve heard some builders do it, I’ve also heard from a lot of those builders that they won’t do it anymore after having several forks fail!
Which brings me to this first bike. It’s an old big GT that the customer has had since new. He picked up a Surly threadless fork for disk brakes, and I added a tab to the rear of the frame. He got it all powder coated to match and I built it up. A pretty cool update.
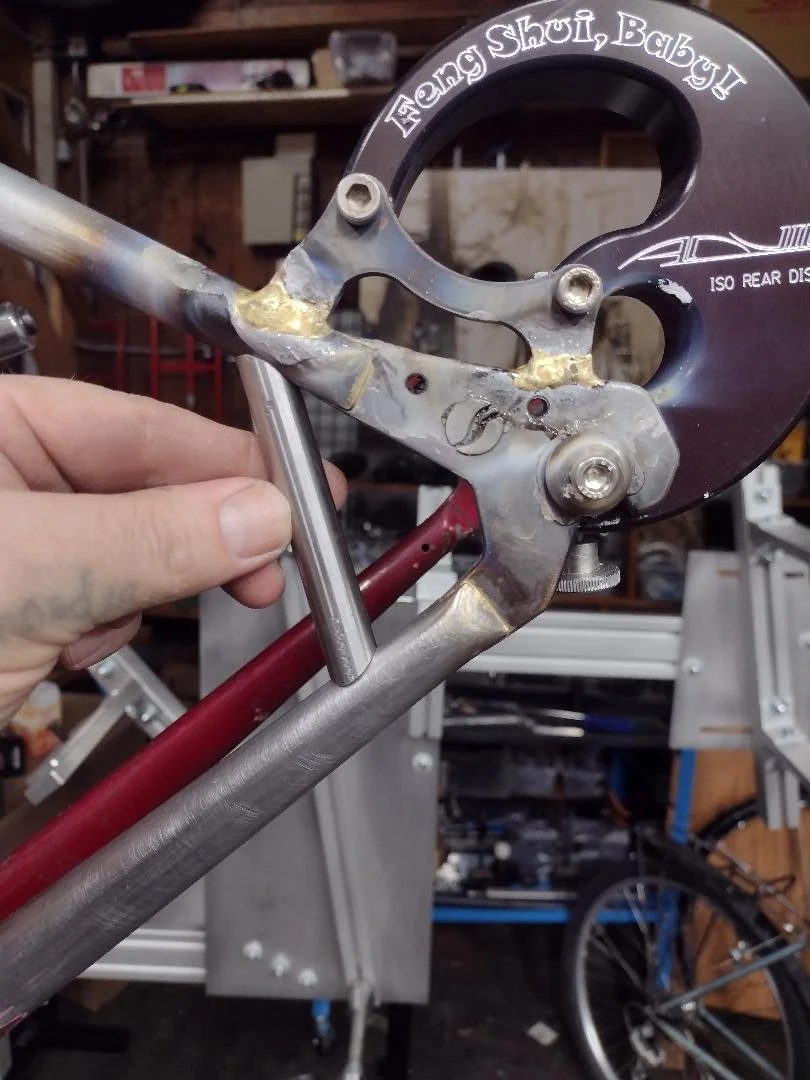
Next we have a few frames that I added a disk tab to and a stress relieving brace. Most disk brake tabs will require the stiffener tab, and having some cable guides added too.